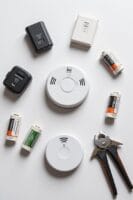
To stop your smoke detector from chirping, first, I recommend identifying the cause. Here’s a quick checklist: 1) Check and replace the battery; old batteries are often the culprit. 2) Clean the detector to remove dust. 3) Inspect the power supply and connections for any issues. 4) Evaluate the detector’s age—most last 7 to 10 years. If it’s older, you might need a new one. Keep that chirp in check, and you’ll learn what else to contemplate!
Key Takeaways
- Replace the batteries with high-quality ones, ensuring correct alignment and seating in the battery compartment.
- Clean the smoke detector using a vacuum or compressed air to remove dust and debris accumulation.
- Inspect the power supply and connections for stability, ensuring the backup battery and wiring are intact.
- Test the smoke detector regularly by pressing the test button to confirm proper functionality.
- Replace detectors that are over 10 years old or showing signs of damage or corrosion.
Identifying the Cause of Chirping
When your smoke detector starts chirping, it can feel like an annoying little alarm clock you never wanted. To tackle this, let’s identify the cause of those pesky chirping patterns. Here are a few things to take into account:
- Environmental Factors: Extreme temperatures or high humidity can trigger alarm sensitivity issues. Keep your detector in a stable environment.
- Dust and Debris: Dust accumulation disrupts the sensor, leading to irritating chirps. Regular cleaning helps prevent this.
- Electrical Issues: Power surges or circuit interruptions might cause chirping. Check the power supply and verify everything’s connected correctly.
- Age: If your detector is nearing its 10-year lifespan, it might be time for a replacement.
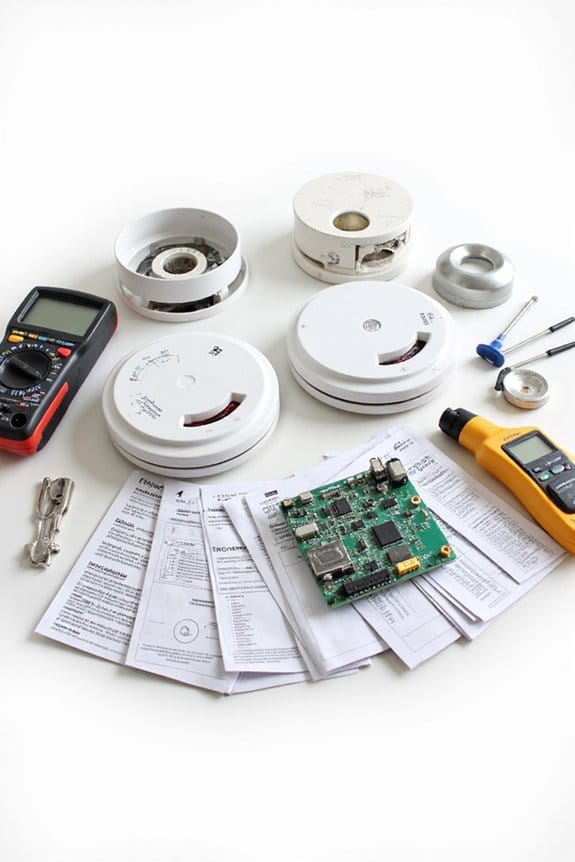
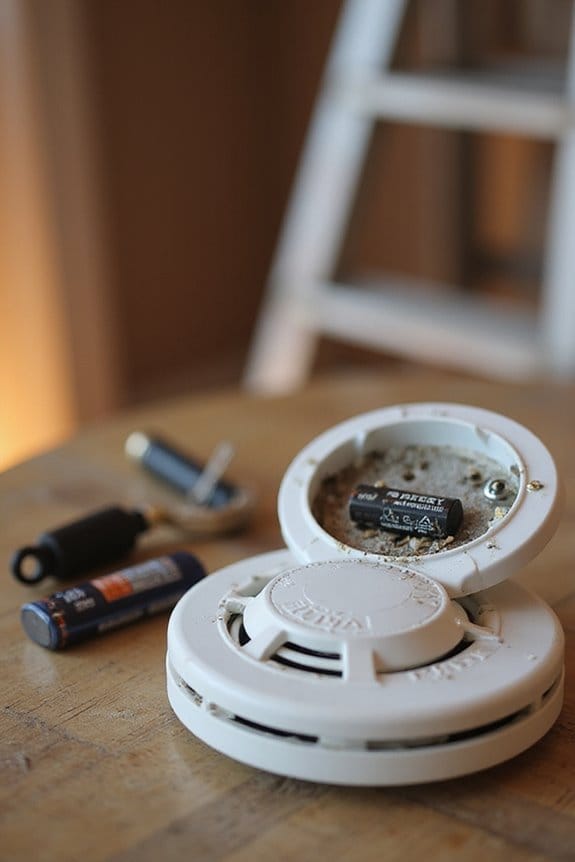
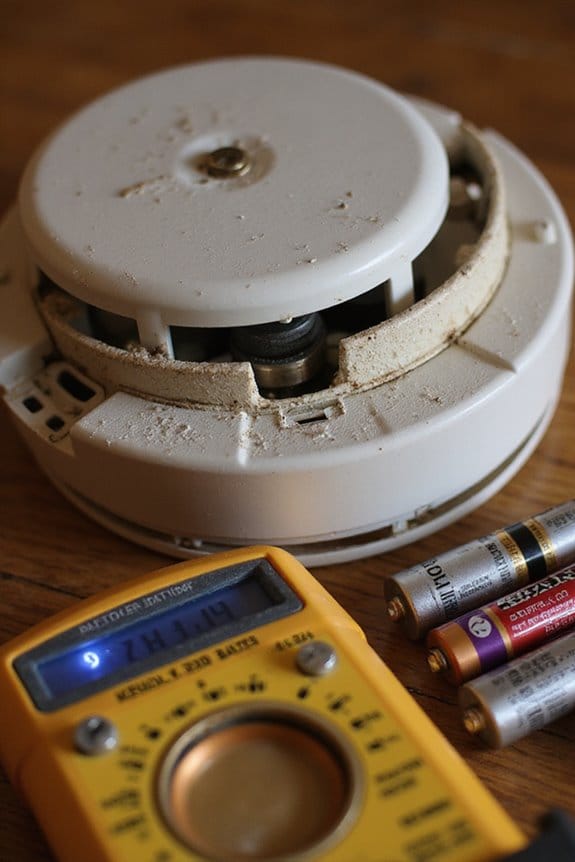
Checking and Replacing the Battery
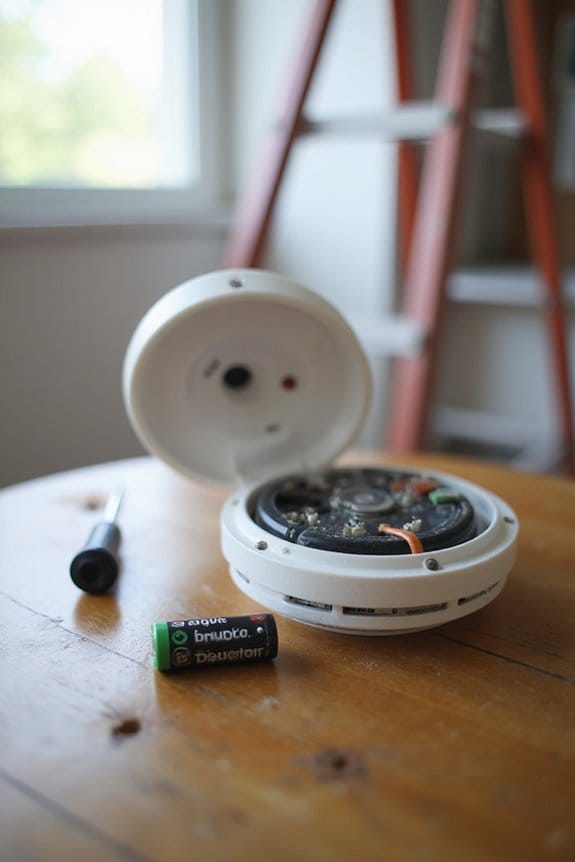
Checking and replacing the battery in your smoke detector is an essential step to confirm it functions properly and keeps you safe. Here’s how I do it:
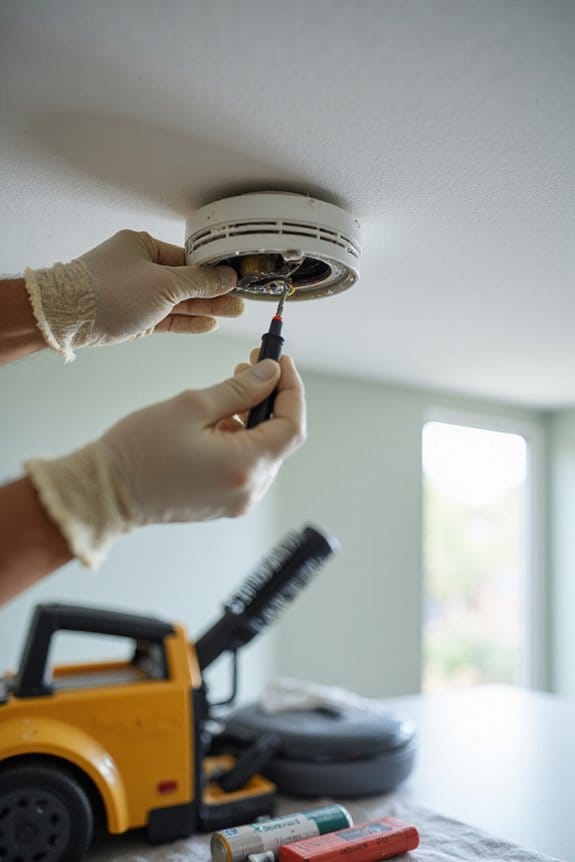
- Remove the Detector: Twist it off the base or detach it with a screwdriver.
- Open the Battery Compartment: Press the tab or slide the cover.
- Check Battery Types: Identify if it uses AAA, AA, or 9V batteries before pulling out the old ones.
- Insert New Batteries: Use fresh, high-quality batteries. Align the positive and negative terminals correctly.
- Test the Alarm: Press the test button to verify everything’s working. Additionally, ensuring your smoke detector is equipped with advanced electrochemical sensors can significantly enhance your safety by providing accurate detection of smoke and CO levels.
Cleaning the Smoke Detector
After ensuring your smoke detector has fresh batteries, it’s time to give it a little TLC by cleaning it. I recommend cleaning your smoke detector at least once every three years to maintain its sensitivity. Here’s how I do it:
- Turn off the power: Safety first! This prevents false alarms.
- Remove the detector: Twist it counter-clockwise and unplug it carefully.
- Clean it: Use a vacuum with a soft brush attachment to clear dust and debris. Compressed air works wonders for those tricky spots.
- Reconnect: Securely plug it back in and restore power.
Regular cleaning keeps your detector reliable and prevents false alarms. Trust me, a clean detector is a happy detector!
Inspecting Power Supply and Connections
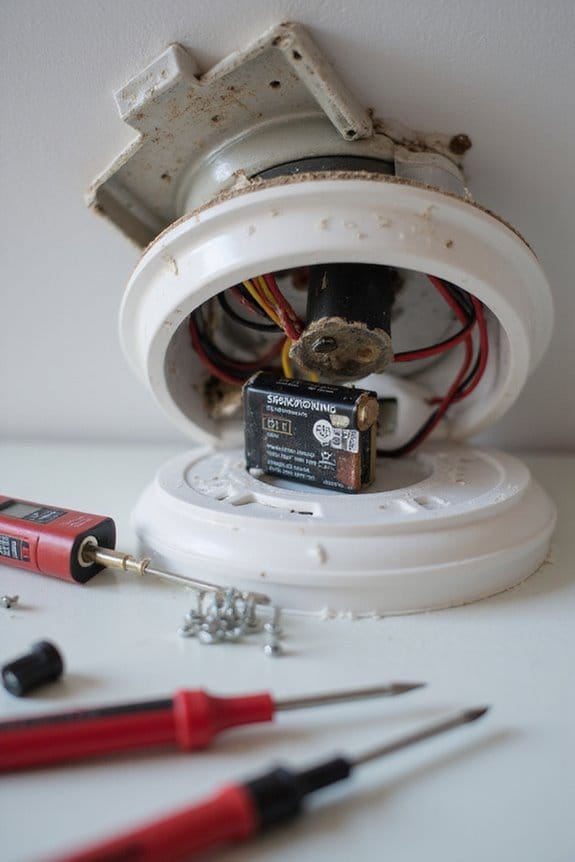
One of the top reasons smoke detectors start chirping is due to issues with the power supply and connections. Here’s what I recommend checking:
- Backup Battery: Even hard-wired detectors have a backup battery. If it’s weak or improperly seated, you’ll hear chirping. Replace it regularly!
- AC Power Supply: Power surges or interruptions can cause your detector to chirp. Make sure your circuit breaker is on and check for loose connections.
- Wiring Inspection: Look for any damaged or corroded wiring. Loose connections can lead to intermittent power delivery, resulting in chirping. Additionally, ensure that your smoke detector is equipped with advanced sensing technology to reduce false alarms and improve reliability.
Evaluating Detector Age and Condition
Evaluating the age and condition of your smoke detector is essential for guaranteeing it works effectively when you need it most. Here’s how to do it:
- Check the Lifespan: Most detectors last about 7 to 10 years. If yours is older, it’s time for a replacement.
- Look for Chirps: An “end-of-life” chirp indicates it’s time to retire your smoke detector. Don’t ignore it!
- Inspect for Damage: Look for discoloration or corrosion. These signs can mean your detector’s condition is deteriorating.
- Test Regularly: Guarantee it responds to tests and doesn’t chirp randomly. Frequent chirping can signal a malfunction.
Following these replacement guidelines can keep your home safe. Remember, a working detector is worth its weight in gold!
Ensuring Proper Battery Installation
When it comes to guaranteeing your smoke detector works properly, proper battery installation is key. Here’s how I do it:
- Open the Cover: Twist or open the detector cover according to its design.
- Remove the Old Battery: Carefully take it out, noting its type and battery orientation.
- Check the Compartment: Look for any corrosion or debris before inserting a new battery.
- Insert the New Battery: Match the battery orientation exactly. Confirm connectors align properly for a solid connection.
- Press Firmly: This prevents any loose connections that might lead to annoying chirping.
Finally, snap the cover back on securely. Trust me, a well-installed battery is essential for a quiet, functioning smoke detector!
Addressing Environmental Factors and Interference
Although we often think of smoke detectors as simple devices, they can be surprisingly sensitive to their surroundings, leading to that annoying chirping sound. Here are a few environmental factors to take into account:
- Humidity Control: High humidity or steam from cooking can mess with the sensors. Consider using a dehumidifier in damp areas.
- Airflow Management: Make sure your smoke detector is at least three feet away from vents or ceiling fans. Excess airflow can cause false alarms.
- Dust and Insects: Regularly clean your detector to prevent dust and bugs from interfering. A little TLC goes a long way.
Frequently Asked Questions
Can I Silence the Chirping Temporarily Without Fixing the Issue?
I can temporarily silence the chirping, but it won’t fix the underlying chirping causes. It’s essential to address those issues soon after, like replacing batteries or cleaning dust, to guarantee safety.
What Type of Batteries Should I Use for My Smoke Detector?
When choosing batteries for my smoke detector, I prefer lithium batteries for their longer lifespan, but alkaline batteries work well too. Both provide reliable power, so I consider my detector’s needs before deciding.
Are There Smoke Detectors That Don’T Require Battery Replacements?
Like a lighthouse guiding ships, hardwired detectors provide constant safety without needing battery replacements. I love that sealed lithium batteries last ten years, ensuring peace of mind without the hassle of maintenance. It’s a game-changer!
How Often Should I Test My Smoke Detector?
I test my smoke detector annually, but I know testing frequency can vary. Regular smoke alarm maintenance, like visual inspections and battery checks, helps guarantee everything functions properly and keeps my home safe from fire hazards.
What Should I Do if My Smoke Detector Is Still Chirping After Troubleshooting?
If your smoke detector’s still chirping after troubleshooting, I understand how frustrating it can be. I’d recommend exploring replacement options or following additional troubleshooting tips to guarantee your safety and peace of mind in your home.