After the home inspection, I usually break down the next steps into a few straightforward tasks. First, I review the inspection report for defects or safety issues. Then, I prioritize repairs, focusing on electrical or plumbing hazards. Next, I negotiate repair requests with the seller—think of it as a polite bargaining game. I keep everything organized for closing, ensuring all repairs are done. If you’re curious about managing post-closing repairs or other tips, there’s plenty more to explore!
Key Takeaways
- Review the inspection report to identify defects, safety issues, and necessary repairs that may impact the home’s value.
- Prioritize repairs based on urgency, focusing on electrical, plumbing, foundation, and HVAC issues first.
- Negotiate with the seller for repairs, credits, or price reductions using evidence from the inspection report.
- Coordinate with licensed professionals to schedule repairs and ensure compliance with local codes and standards.
- Prepare for closing by confirming the closing date, reviewing documents, and conducting a final walk-through of the property.
Understanding the Inspection Report
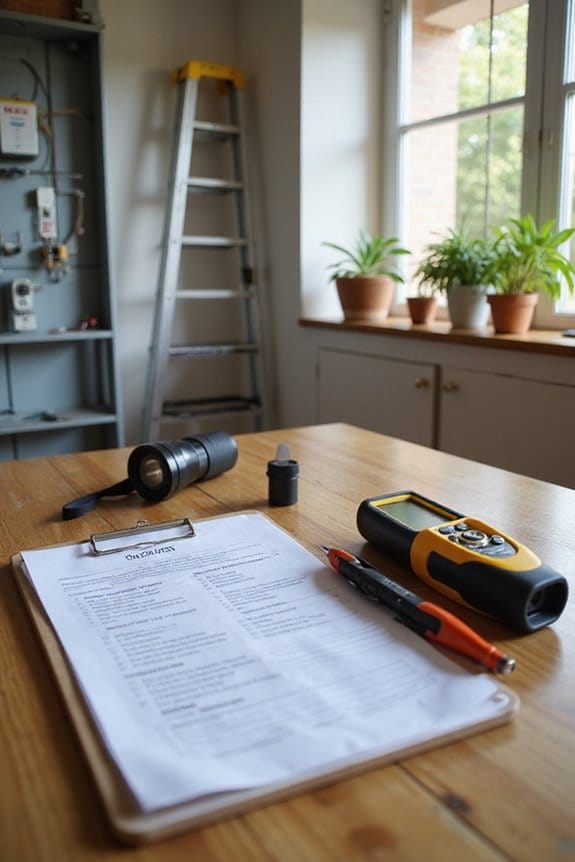
When you get your home inspection report, it can feel a bit overwhelming, but don’t worry—I’m here to help you make sense of it. First, it’s essential to understand the organization of the report. Here’s how to approach it:
- Exterior and Interior Sections: The report covers everything from the roof to the basement. Pay attention to both areas.
- Inspection Codes: Familiarize yourself with the codes like D (defect), S (safety), and R (repair). These will guide your report interpretation.
- Details Matter: Look for specifics about the foundation, HVAC, and plumbing. They often highlight critical issues that could impact your home’s value.
Setting Priorities for Repairs and Maintenance
After you’ve wrapped your head around the inspection report, it’s time to tackle the next step: setting priorities for repairs and maintenance. Here’s how I approach it:
- Safety First: Address electrical hazards and plumbing issues immediately. They’re urgent.
- Structural Integrity: Fix foundation problems and HVAC malfunctions next. They impact stability and comfort.
- Budget Allocation: Estimate costs—start with low-cost, high-impact repairs like door adjustments first.
- Repair Timelines: Classify repairs into immediate, short-term, and long-term. Handle the urgent stuff right away.
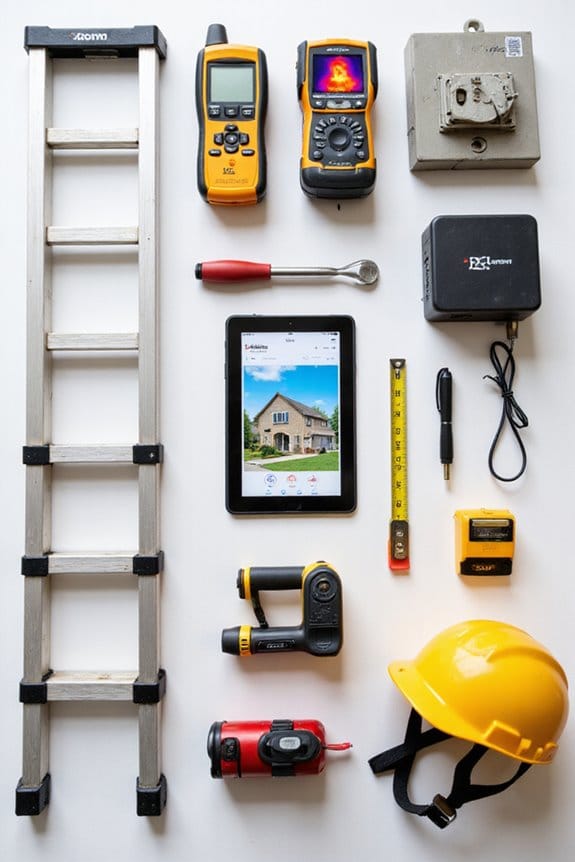
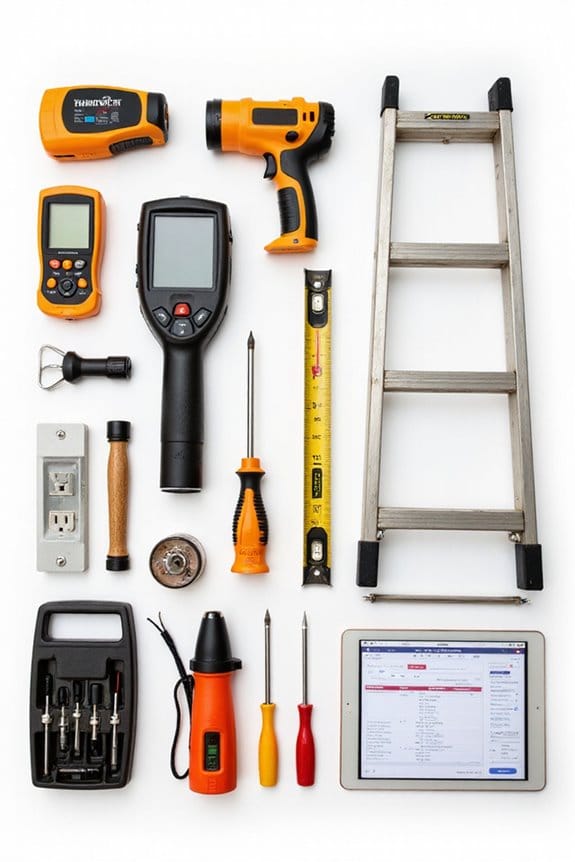
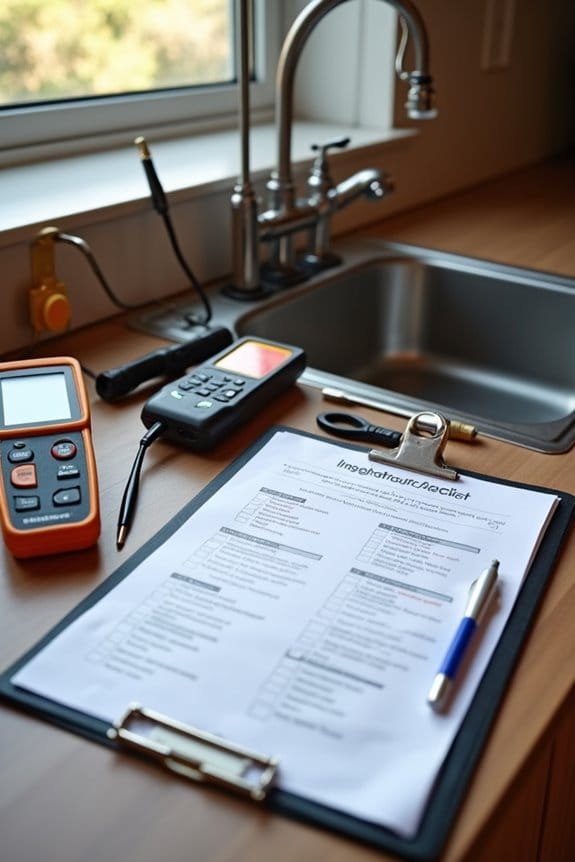
- Plan for the Future: Set aside around $10,000 to $12,000 for repairs and unexpected surprises. Additionally, consider investing in essential electrical testing tools to ensure your electrical systems are safe and functional.
Negotiating Repair Requests With the Seller
Negotiating repair requests with the seller can feel a bit intimidating, especially if you’re not sure where to start. Focus on major repairs like roofing, plumbing, or electrical issues—these are your deal breakers. Here are some tips:
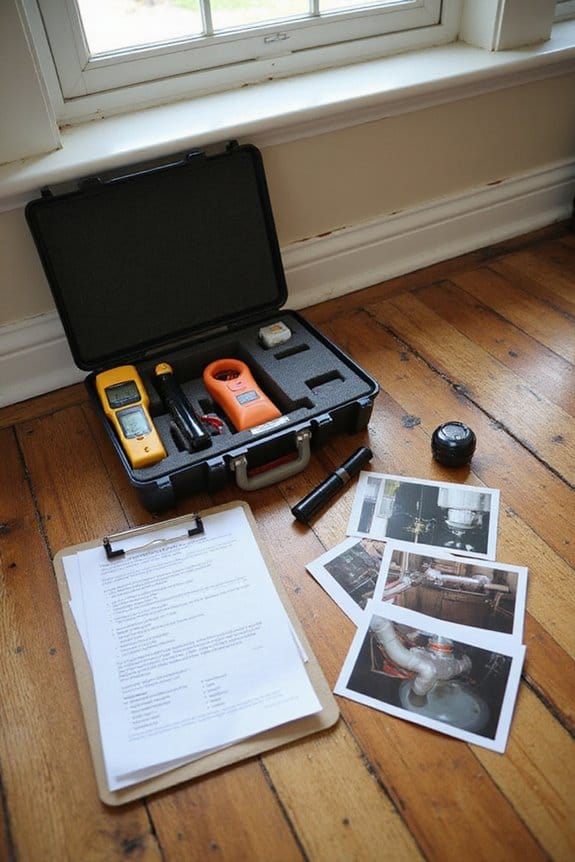
- Present Evidence: Use detailed inspection reports, photos, and repair estimates to back your requests. Sellers might not know about hidden issues, so clear documentation helps.
- Be Respectful: Keep your communication factual. Avoid assuming sellers are hiding defects.
- Choose Your Approach: Decide if you want repairs, credits, or price reductions. Sometimes sellers prefer credits, letting you handle repairs later.
- Use Your Agent: An experienced real estate agent can be your best advocate during repair negotiations. They know the ropes!
Making an Informed Decision on Purchase
Once you’ve navigated the sometimes tricky waters of negotiating repairs, it’s time to step back and assess the bigger picture: making an informed decision on your home purchase. Here’s what to reflect on:
- Buyer Confidence: Trust your instincts! Use the inspection report to gauge any red flags and bolster your confidence in the decision.
- Inspection Transparency: A thorough report lays everything out. Are the defects minor or major? This clarity helps you weigh your options.
- Financial Impact: Think about potential repair costs versus your budget. Are you prepared for immediate fixes, or can you phase them in later?
Ultimately, whether you move forward or rethink, being informed allows you to make choices that align with your financial goals and comfort levels. Happy house hunting!
Coordinating Repairs and Re-inspection
While you may feel a mix of excitement and anxiety about the next steps, coordinating repairs and scheduling a re-inspection is essential to guaranteeing your new home is safe and sound. Here’s how to tackle it:
- Set Repair Timelines: Work with the seller or contractors to establish when repairs will be completed. This keeps everyone on track.
- Contractor Selection: Choose licensed professionals for repairs. This ensures quality work and compliance with local codes.
- Schedule Re-inspection: Once repairs are done, book a re-inspection to confirm everything’s fixed. Don’t skip this step—safety matters!
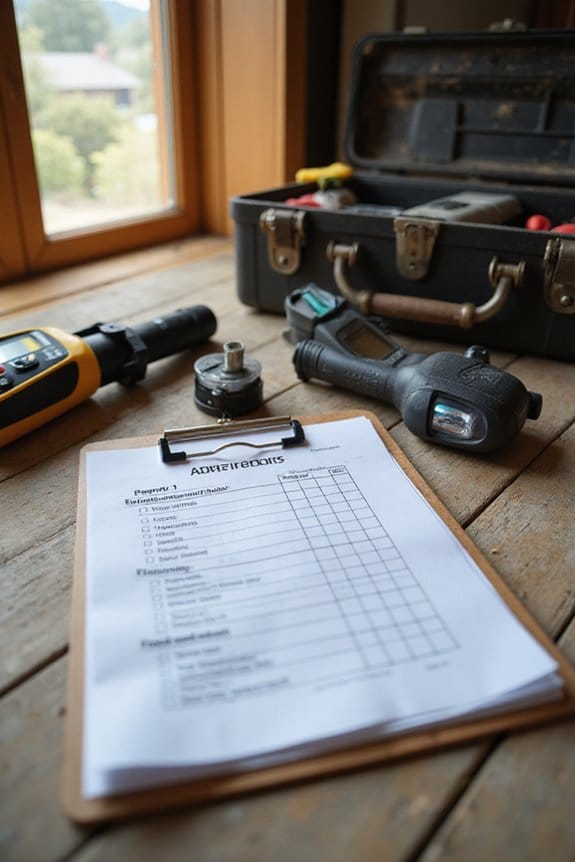
- Document Everything: Keep records of repairs and inspection reports. They’re your safety net for future reference.
Preparing for Closing
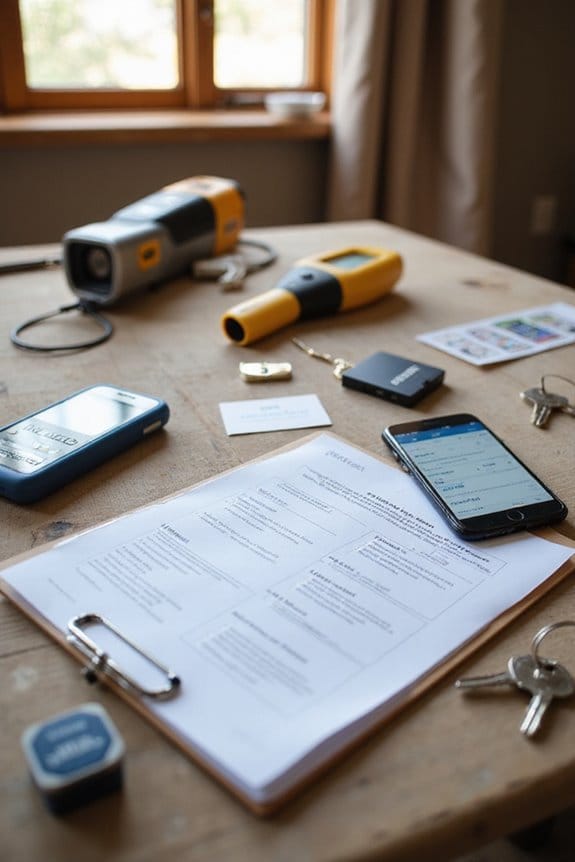
As you gear up for closing, it’s important to stay organized and informed, so you don’t miss a beat. Here’s a quick checklist to help you along the way:
- Schedule Closing: Coordinate with your realtor and lender to confirm the date and location. Make sure everyone involved can attend.
- Review Documents: At least three days prior, carefully examine the closing disclosure. It outlines your mortgage terms and costs. Double-check for any discrepancies!
- Final Walk-Through: Don’t skip this! Verify that the property is in good shape and that any repairs were made.
- Financial Prep: Arrange your down payment and closing costs, along with homeowners insurance.
Managing Post-Closing Repairs
Managing post-closing repairs can feel like a juggling act, but with a little organization, it doesn’t have to be overwhelming. Here’s how I tackle it:
- Prioritize Repairs: Focus on urgent issues first—think HVAC or electrical problems that could be dangerous.
- Set Repair Timelines: Agree on a timeline with contractors, typically 30 to 90 days post-closing.
- Use Escrow Holdbacks: If repairs can’t be finished before closing, establish escrow holdbacks to guarantee funds are available for completion.
- Document Everything: Keep records of agreements and invoices; they’re vital for future reference.
Ensuring a Smooth Transition to Homeownership
After wrapping up post-closing repairs, it’s time to focus on settling into your new home. Here are some steps to guarantee a smooth shift to homeownership:
- Home Warranty: Consider purchasing a home warranty. It’ll cover unexpected repairs, giving you peace of mind.
- Utility Transfers: Don’t forget to transfer utilities! Call your providers to set up service in your name. You don’t want to move in and find no water or power.
- Change of Address: Update your mailing address everywhere—think banks and subscriptions.
- Maintenance Schedule: Based on your inspection findings, create a maintenance schedule. Regular upkeep keeps your home happy! Additionally, consider installing smart leak detectors to safeguard your home against potential water damage.

Trust me, these steps make settling in much easier. Happy homeownership!
Frequently Asked Questions
How Long Does a Home Inspection Typically Take?
Did you know smaller homes under 1,000 sq ft usually take just 1.5 to 2 hours for a home inspection? The duration factors like size and inspection types can greatly affect the overall time needed.
What Qualifications Should I Look for in an Inspector?
When choosing an inspector, I’d look for strong certification requirements and relevant experience levels. It’s essential they’re licensed and have a solid background in home inspections to guarantee you’re getting a thorough evaluation.
Can I Attend the Home Inspection?
Attending the home inspection’s like stepping into a treasure map; I get to uncover the property’s secrets firsthand. The benefits are clear, but I’ve got to follow inspection etiquette to respect the process and inspector.
What if the Inspection Reveals No Issues?
If the inspection reveals no issues, I feel a surge of buyer confidence. The benefits of inspections are clear; knowing the home’s sound condition helps me finalize the purchase smoothly, without worrying about unexpected repairs.
How Do I Interpret Technical Jargon in the Report?
Did you know over 80% of home buyers struggle with technical terms in inspection reports? I find that focusing on report clarity and asking for explanations helps me navigate jargon and understand essential details better.