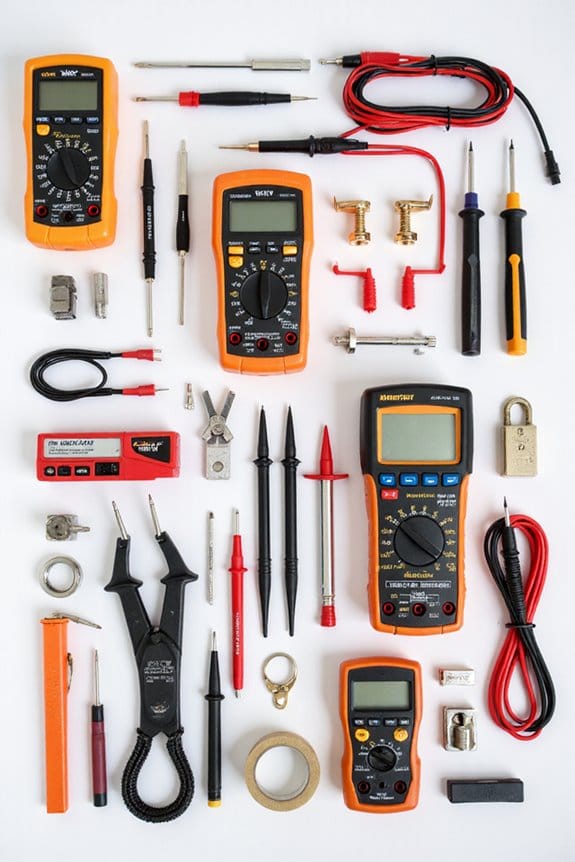
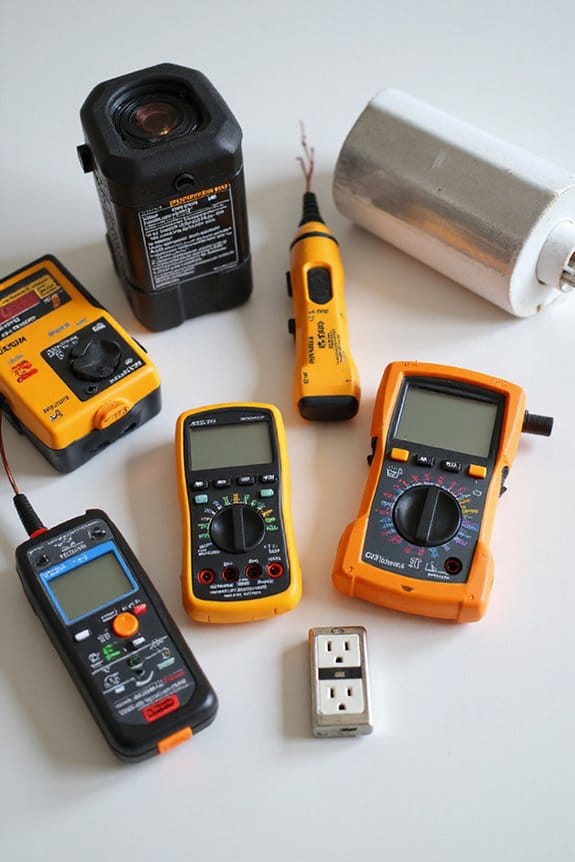
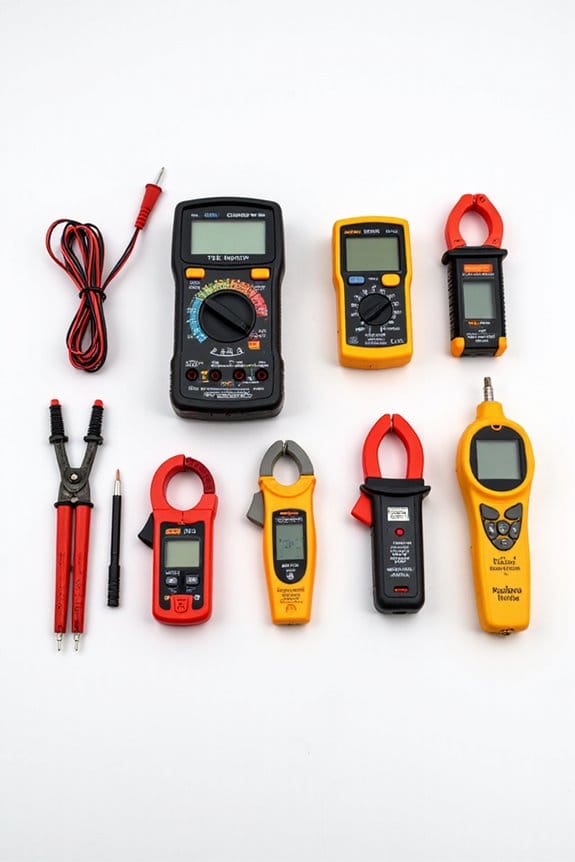
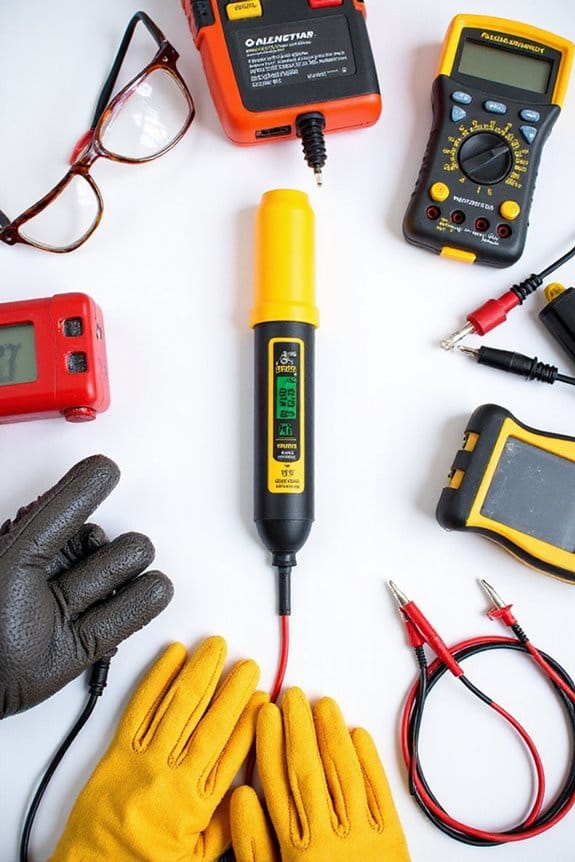
A multimeter’s like your electrical Swiss Army knife! It measures several key things: 1) Voltage – checks the potential difference; 2) Current – reveals how much electricity flows; 3) Resistance – assesses how well a material conducts; 4) Capacitance – gauges a capacitor’s ability; 5) Frequency – measures signal cycles. Plus, it can test diodes and continuity. It’s a handy tool for any DIYer or budding electrician. Stick around, and you’ll discover even more useful tips!
Key Takeaways
- A multimeter measures electrical potential difference, commonly known as voltage, in both DC and AC circuits.
- It measures current by breaking the circuit and connecting in series, using appropriate settings for accurate readings.
- Resistance can be measured by setting the multimeter to resistance mode, which checks circuit continuity and component health.
- Capacitance measurement requires discharging the capacitor and connecting leads, with the multimeter set to capacitance mode for accurate results.
- Frequency can be measured by placing leads across the signal and setting the multimeter to the appropriate frequency mode.
Voltage Measurement
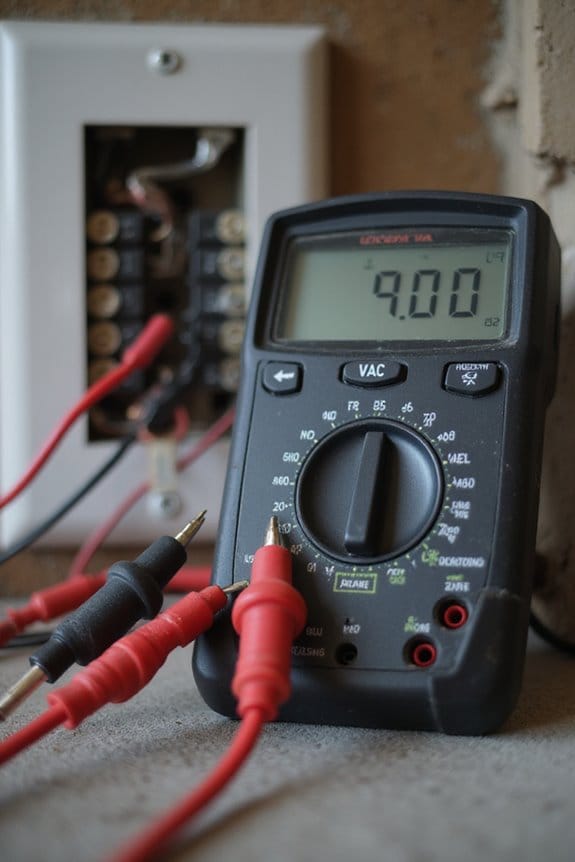
When it comes to measuring voltage, a multimeter is your go-to tool. It measures the electrical potential difference between two points in a circuit, and trust me, it’s essential for both DC and AC circuits. Here are the key voltage types I often measure:
- DC Voltage: Steady voltage from batteries or DC power supplies.
- AC Voltage: Alternating voltages found in household wiring.
To get accurate readings, I always set my multimeter to the correct voltage mode. And remember, input impedance matters! A high impedance keeps your circuit safe and your readings accurate. So, start on the highest range, connect probes in parallel, and double-check your settings. Additionally, regular calibration is recommended to ensure consistent accuracy in your multimeter readings. Happy measuring, and don’t zap yourself!
Current Measurement
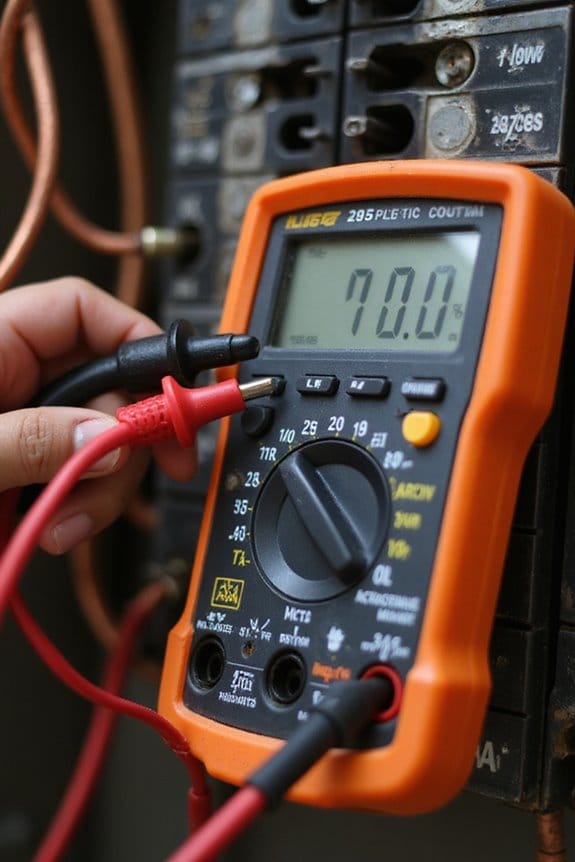
Measuring current with a multimeter can seem a bit intimidating at first, but once you get the hang of it, it’s really quite straightforward. Here’s how to do it safely and effectively:
- Prepare: Always power off the circuit. Safety first! Check your multimeter’s fuse and verify it’s rated for the current you’re measuring.
- Connect: Break the circuit and connect the multimeter in series. Use the correct port—mA for smaller currents, A for larger ones.
- Select: Set the multimeter to the correct mode—AC or DC—based on your circuit.
- Measure: Turn on the power, read the stable display, and take note of the current.
Just remember, practice makes perfect, and always prioritize current safety!
Resistance Measurement
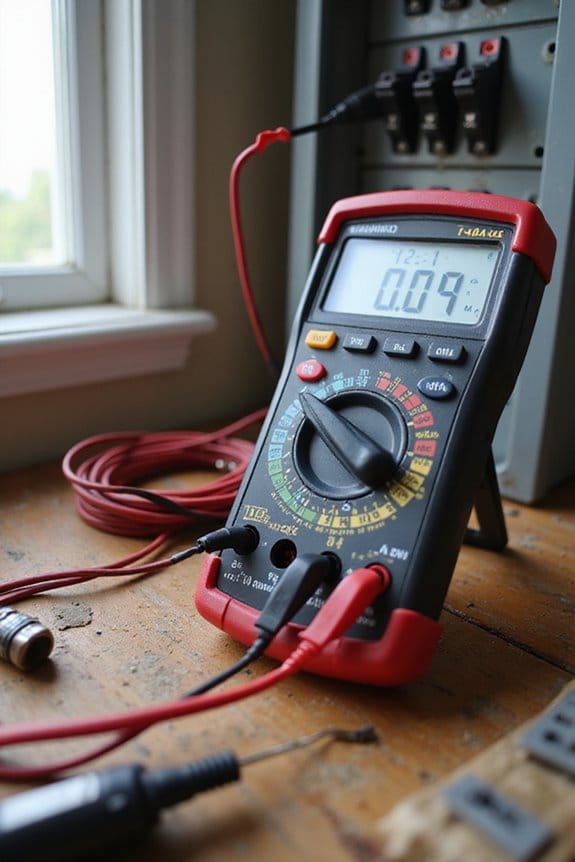
Understanding resistance measurement can really amp up your multimeter skills, especially since it’s all about figuring out how much a component resists the flow of electric current. Here’s how I tackle it:
- Choose Your Method: For basic checks, I use the two-wire technique. For more accuracy, I opt for the four-wire method, which avoids lead resistance errors.
- Prepare Your Multimeter: Make sure it’s set to resistance (Ω) mode. If you’re unsure, auto-ranging features adjust for you—thank goodness!
- Calibration Matters: Regular resistance calibration helps maintain accuracy.
- Environmental Factors: Always remember that temperature and connection quality can affect readings.
Capacitance Measurement
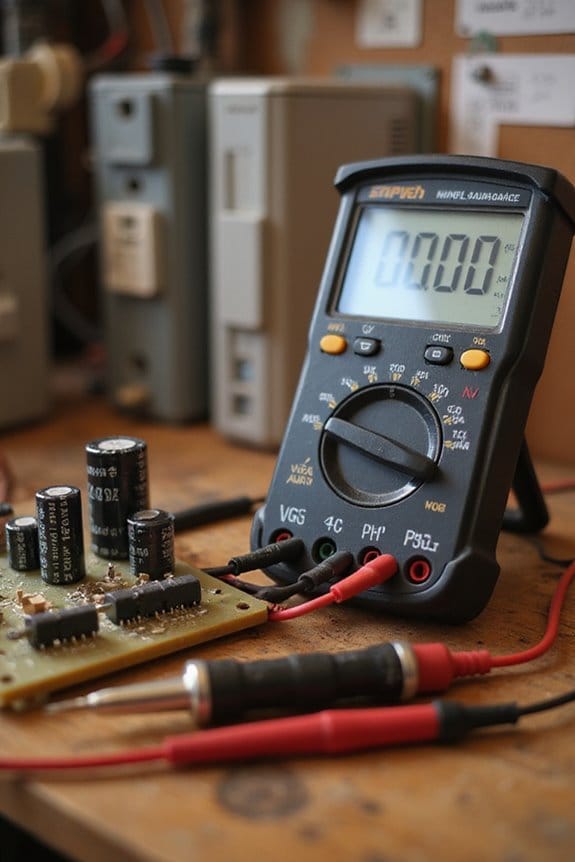
Capacitance measurement might seem a bit tricky at first, but once you get the hang of it, you’ll find it’s quite straightforward. Here’s how to do it:
- Preparation: Turn off the power and discharge the capacitor safely. Always check that it’s fully discharged with your multimeter.
- Setup: Connect the test leads to the capacitor. For polarized types, watch the orientation!
- Measurement: Set your multimeter to capacitance mode. Allow it to stabilize for accurate readings.
- Check Results: A numeric value means success; “OL” indicates out of range or a faulty capacitor.
Frequency Measurement
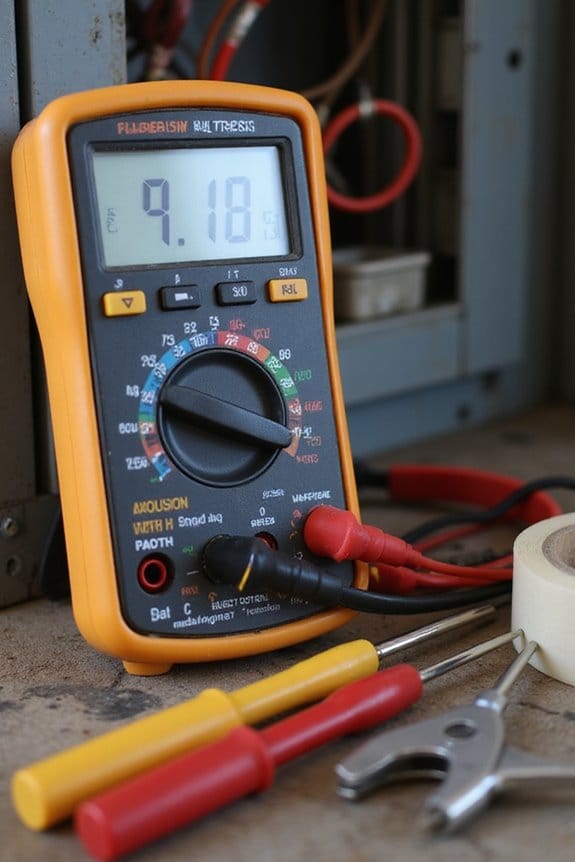
Frequency measurement opens up a world of understanding for those diving into electronics. With a digital multimeter (DMM), you can measure frequency in Hertz (Hz), representing cycles per second. Here’s how to do it:
- Set the Dial: Turn it to AC voltage or Hz if available.
- Connect Leads: Insert the black lead into COM and the red into V Ω.
- Probe the Circuit: Place the leads across where the signal is present.
- Press Hz: If needed, switch to frequency mode.
Keep in mind, frequency accuracy can drop with noisy signals. Plus, measurement limitations exist—some multimeters can’t measure high frequencies accurately. So, always check your multimeter’s specs for the best results!
Temperature Measurement
When you’re diving into the world of temperature measurement with a multimeter, it can feel a bit intimidating at first. But don’t worry! Here’s a quick breakdown:
- Temperature Sensors: Most multimeters use thermocouples or thermistors. Thermocouples are common, converting temperature differences into voltage readings.
- Settings: You can easily toggle between Celsius and Fahrenheit, depending on what you need.
- Accuracy Limitations: While multimeters can give approximate temperatures, they aren’t always precise. They rely on ambient temperature compensation, which can introduce errors.
- Practical Use: Make sure your probe has good contact with the surface for accurate readings. And hey, just don’t let those probe ends touch—nobody wants a short circuit!
With practice, you’ll be measuring temperature like a pro!
Diode Testing
Diode testing can seem a bit intimidating, but it’s actually quite straightforward once you get the hang of it. There are two main testing methods: Diode Test mode and Resistance mode. I recommend using Diode Test mode for checking diode functionality since it’s more reliable.
Here’s how to do it:
- Power Off: Confirm the circuit is off and capacitors are discharged.
- Set Multimeter: Switch to Diode Test mode (look for the diode symbol).
- Connect Probes: Red probe to the anode and black to the cathode for forward bias.
- Reverse Probes: To check reverse bias, swap the probes.
Continuity Testing
Continuity testing is one of those essential skills that every DIY enthusiast should have in their toolbox. It helps us determine if an electrical path is complete or broken. Here’s how to get started with continuity testing techniques:
- Setup: Insert the black probe into the “COM” port and the red probe into the continuity port. Set your multimeter to continuity mode.
- Testing: Touch the probes to each side of the connection. A beep means you’ve got low resistance and a complete circuit; no beep? You might have a break.
- Applications: Use this handy skill to troubleshoot switches, fuses, and wiring. Additionally, always ensure your multimeter has a CAT III 600V safety rating to protect yourself while measuring.
Remember to always power off the circuit before testing! It’s a quick and effective way to keep your projects running smoothly.
Frequently Asked Questions
Can I Use a Multimeter on Live Circuits Safely?
I can safely use a multimeter on live circuits by following essential safety precautions and live circuit techniques. This includes wearing proper PPE, using undamaged equipment, and following manufacturer guidelines to minimize risks.
How Do I Maintain My Multimeter for Accurate Readings?
Think of your multimeter like a delicate instrument in an orchestra. I guarantee its accuracy through regular calibration techniques and diligent battery care, keeping it in tune for precise readings whenever I need it.
What Is the Difference Between Digital and Analog Multimeters?
When I compare digital accuracy to analog simplicity, I find digital multimeters excel in precision and range, while analog meters offer straightforward readings. Each has its place, depending on what I need for my measurements.
Can Multimeters Measure Power Consumption Directly?
No, multimeters can’t measure power consumption directly. They require calculating it from voltage and current readings. For accurate energy monitoring, I often need tools that consider power factor and integrate measurements over time.
How Do I Choose the Right Multimeter for My Needs?
When choosing a multimeter, I always compare features and consider my budget. I look for accuracy, durability, and usability, ensuring it meets my needs without breaking the bank. Prioritizing wisely makes all the difference.

