As an Amazon Associate, we earn from qualifying purchases. Some links may be affiliate links at no extra cost to you. Although our opinions are based on curated research, we haven't used these products. Articles generated with AI.

How To Make Straight Cuts With Hand Saw?

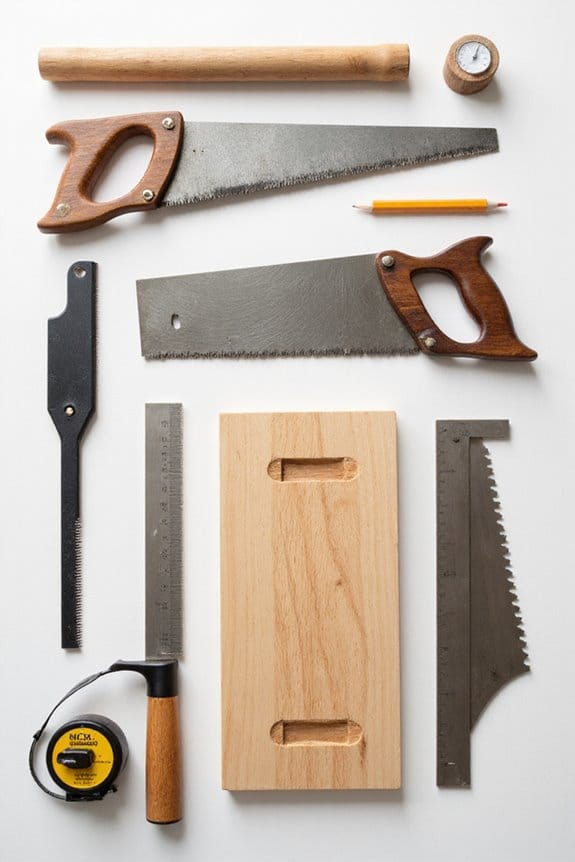
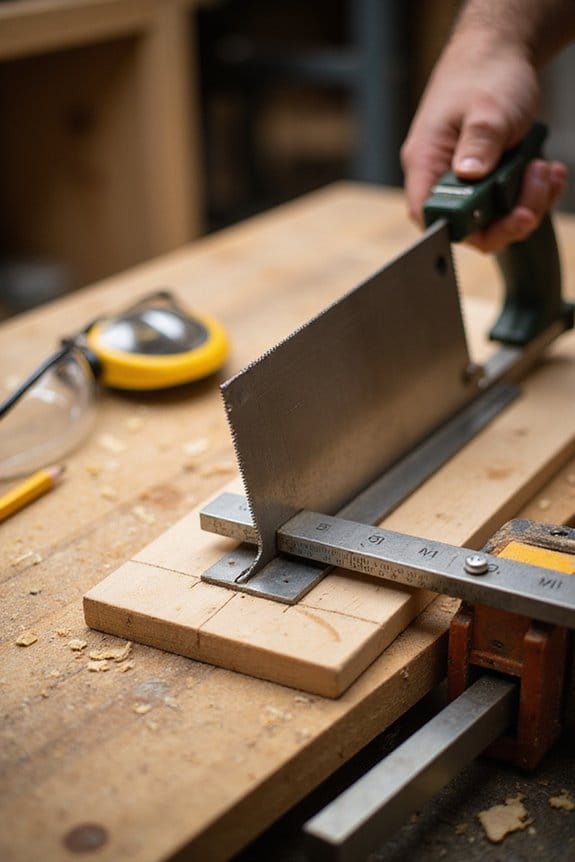
To make straight cuts with a hand saw, first, I recommend preparing your workspace. Secure your wood firmly and mark your cut line clearly. Start by scoring the line lightly to help guide your saw. When you begin cutting, use steady, light strokes and let the saw do the work. Keep the blade perpendicular for accuracy. If you ever feel the saw drifting, just pause and adjust. There’s more to it, and I’ve got some useful tips coming up.
Key Takeaways
- Score the marked line lightly to establish a kerf that guides the saw for better control during cutting.
- Use a carpenter’s square to mark precise lines on all sides of the wood for accurate alignment.
- Clamp the workpiece securely to prevent movement while cutting, ensuring a stable work environment.
- Apply slow, light pressure and let the saw’s weight do the work to maintain straight cuts.
- Regularly pause to check alignment and make adjustments if the saw begins to wander off the line.
Preparation and Setup
You may be interested
Before diving into making those straight cuts with your hand saw, it’s vital to get yourself and your workspace ready. Here’s how I prepare:
- Saw Selection: I always choose a sharp saw with well-set teeth. Inspecting for any bent or damaged teeth is essential to avoid inaccuracies.
- Workspace Organization: A clean and uncluttered workspace makes a world of difference. I keep tools, clamps, and measuring devices within easy reach.
- Light and Ventilation: Good lighting is key. I guarantee my work area is well-lit and ventilated for comfort.
- Stability: I clamp my workpiece firmly to prevent any movement.
Taking these steps not only enhances my cutting accuracy but also makes the whole process smoother—like butter on toast!
Recommended Products
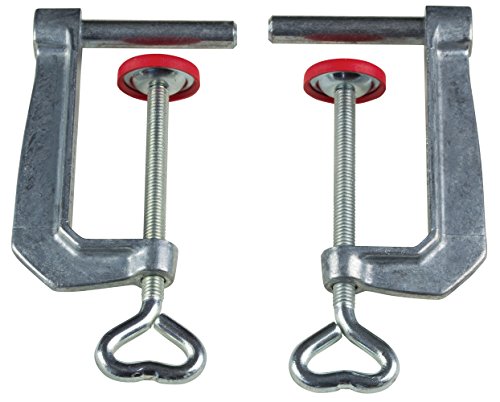
Compatible & Versatile - the table clamps provide simple and secure mounting of any KRE, KR, KREV or KRV clamp to table surfaces up to 2 In. thick, providing versatile clamping options.

INCLUDES: (8) Horizontal quick release toggle clamp (201B)

Dual-Purpose Clamp Design: With a 6-5/8" maximum opening and 2-7/8" throat depth, this clamp functions as both a track clamp and a traditional F clamp—ideal for woodworking, assembly, and DIY tasks
Starting the Cut
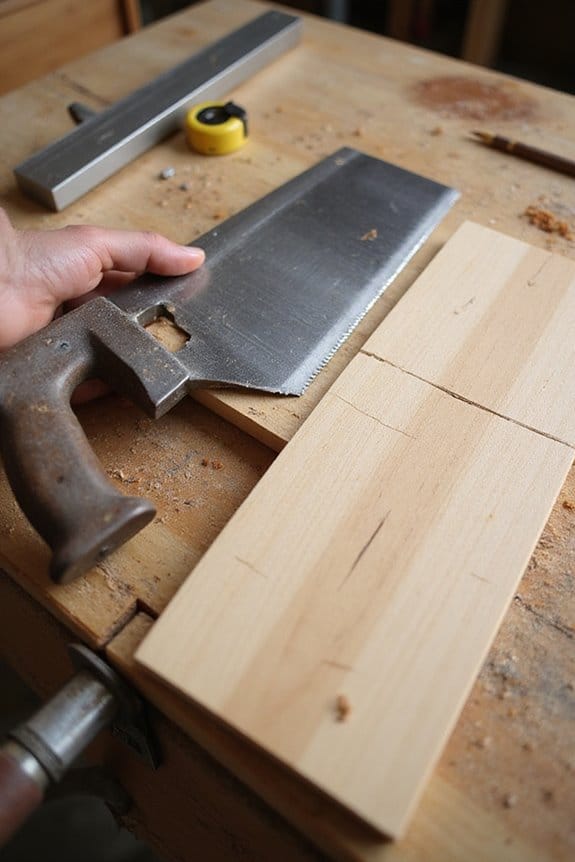
Getting started with your cut can be a bit nerve-wracking, but it doesn’t have to be! Here’s how I start the cut effectively:
- Establish the Kerf: Begin at one edge of your marked line. For Western saws, use light backward strokes to score. If you’re using a Japanese saw, push forward gently.
- Grip and Angle: Position the saw blade at the marked point, keeping it vertical. Use your thumb to stabilize and control the angle.
- Stroke Technique: Start with a few quick, light strokes to set the kerf without pushing too hard. This helps keep the blade on track.
- Stay Steady: Make sure your workpiece is secure, and maintain a comfortable posture for smooth, controlled movements.
Recommended Products

An Idea Gift for Woodworker, Carpenter and Craft Man

DOUBLE-EDGE JAPANESE PULL SAW: This japanese hand saw has rip teeth on one side for cutting with the grain, and crosscut teeth on the other side for cutting across the grain. A great general-purpose saw for cutting stock down to size as well as cutting large and medium sized joinery.
Maintaining a Straight Cut
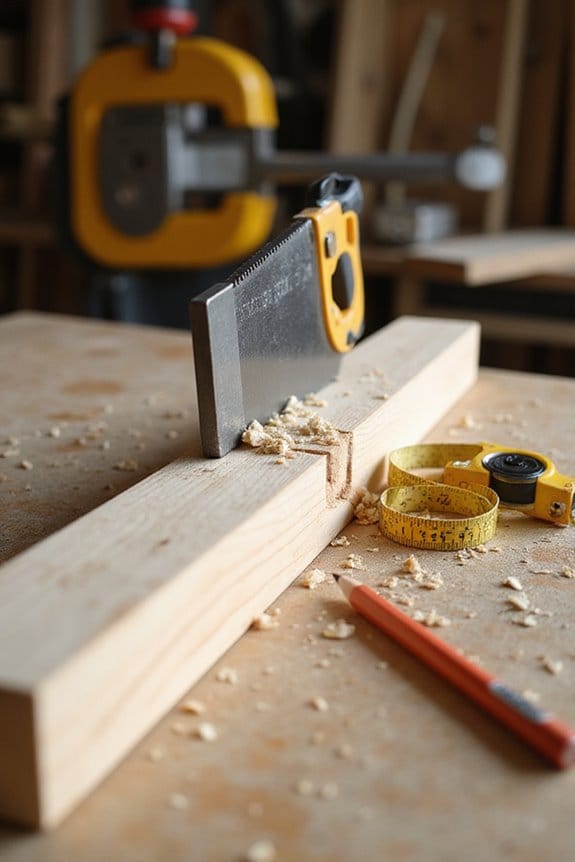
Maintaining a straight cut can feel like a balancing act, but with the right techniques, it’s easier than you might think. Here are some tips to help you master cut alignment and blade control:
- Mark Clearly: Draw precise lines on all sides of your wood. Use a carpenter’s square for right angles, and score the marked line to guide your saw.
- Secure Your Work: Clamp or vise your wood to keep it stable. This prevents unwanted movement and shaky cuts.
- Control Your Pressure: Use slow, light force. Let the saw’s weight do the work, especially at the cut’s end.
- Hand Placement: Keep your index finger along the blade’s side for added stability.
With these tips, you’ll find straight cuts are within reach!
Recommended Products

【90 Degree Wood Working Tools and Equipment Precision Angle Clamp】Made of high quality aluminum alloy to ensure 90 degree precision, Square wood clamps for Woodworking right angle positioning tools with plastic toolbox. the surface is red anodized, anti-rust and corrosion-resistant, CNC processing makes it more durable.

Practical Gifts for Men: WETOLS corner clamps come in a gift-ready box, making them a practical gift for men, dads, husbands, and grandpas. This set of 4 wood clamps is ideal for aligning, nailing, welding, screwing, cabinet making, box assembly, picture frames, and woodworking DIY projects

2-in-1 FUNCTIONALITY: Combines the benefits of a miter clamping tool and a positioning square, perfect for creating precise 90° angles during woodworking assembly, glue-ups, and box or frame construction
Techniques for Accuracy
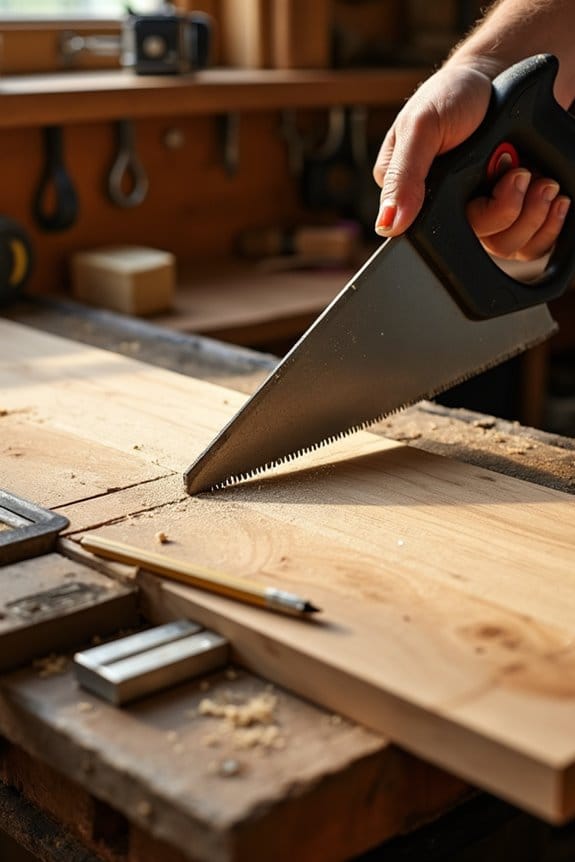
When it comes to making accurate cuts with a hand saw, a little attention to detail goes a long way. Here are some techniques I’ve found helpful for layout precision and cutting clarity:
- Start Right: Use the reflection in the saw blade to guarantee it’s square to the wood. Begin with gentle strokes to create a clean kerf.
- Mark Clearly: Draw precise layout lines on all four sides of the wood. A marking knife works wonders for clarity over a pencil.
- Body Position: Align your body and workpiece to let the saw track naturally along the lines.
- Controlled Cuts: Use steady strokes, letting the teeth do the work. If the saw wanders, pause, realign, and keep going!
Happy sawing!
Recommended Products

[JAPANESE KIRIDASHI KNIFE] A versatile traditional Japanese craft knife for woodworking, marking, scribing, carving, whittling, bamboo craft, leatherwork, bookbinding, paper trimming, and precision cutting.
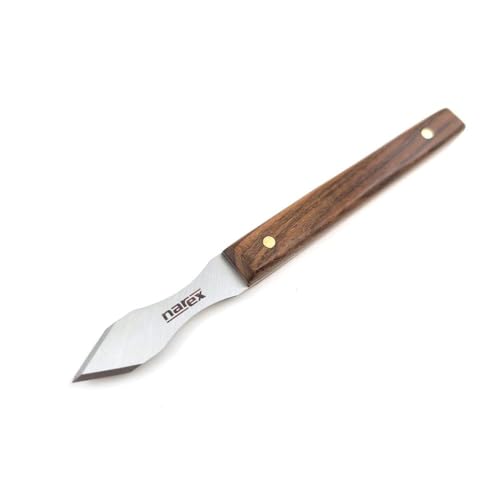
A marking knife is an invaluable tool that should be in the toolbox of every woodworker. A good marking knife can produce crisp and well-defined marks on wood essential when laying out precision joinery or transferring measurements. Scribe lines left by a marking knife can also locate and guide chisels and saws. This Dual Bevel Spear Point marking knife is made by Narex, a world-class edge tool manufacturer in the Czech Republic.

Creates ultra-precise layout lines for dovetails, tenons, and other fine joinery work. | Marks cleanly along squares and edges for consistent, reference-accurate layout lines.
Tools and Aids
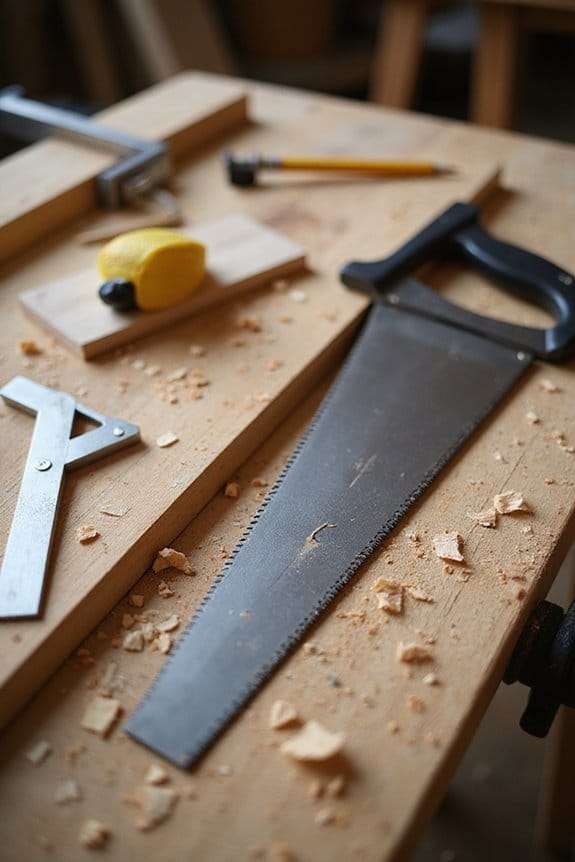
Tools and aids play an essential role in achieving straight cuts with a hand saw. Here’s what I recommend:
- Measuring Tools: Use a steel carpenter’s square for perfect 90-degree angles. Marking knives give you fine lines—much better than pencils for guiding your cuts.
- Clamping Techniques: A bar clamp keeps your wood stable, while a bench vise secures it to your workbench. Trust me, a solid hold makes all the difference.
- Straight Edge Guides: Metal or wooden strips can act as a fence for your saw. If you’re feeling fancy, try a laser guide for precise alignment. Using precision measurement tools can further enhance the accuracy of your cuts.
With the right tools and aids, making straight cuts isn’t just possible—it can actually be enjoyable!
Recommended Products

Multi-Angle Measuring and Marking:This Multi-Angle Measuring Ruler accurately marks and measures angles from 15 to 90 degrees, including preset angles at 15°,22.5°, 30°, 35°,40°,45°, 50°,55°,60°, 67.5°,70°,75°,80°, 85°and 90°, helping you easily accomplish precise angle markings in woodworking jobs
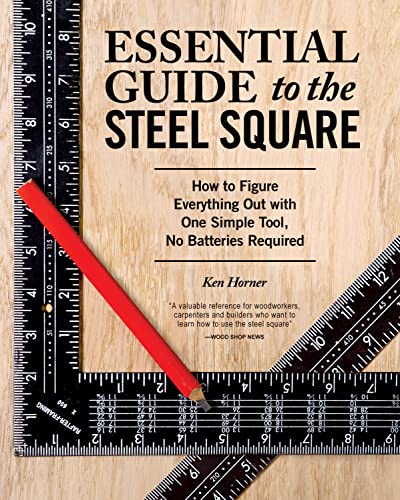

Set consistent trim reveals in seconds: this trim tool lets you mark equal reveals on door and window casing, so jambs, headers and returns line up without guesswork or repeated tape measure checks.
Common Mistakes and How to Avoid Them
Cutting straight with a hand saw is all about avoiding common pitfalls that can lead to frustrating results. Here are some mistakes I’ve made and learned from:
- Improper Starting Technique: Don’t try to cut across the edge all at once. Create a kerf first for better control.
- Tool Condition: Keep your saw maintained. A misaligned or wet saw can cause serious cutting errors.
- Blade Angle: Always maintain a perpendicular angle. Tilting leads to crooked cuts.
- Pressure Control: Don’t force it! Excessive pressure can worsen alignment issues. Instead, apply light, controlled force to guide the saw.
If you catch yourself making mistakes, pause, reassess, and realign. Small adjustments can make all the difference!
Tips for Beginners
Although starting out with a hand saw might seem intimidating, I’ve found that a few simple tips can make your experience much smoother. Here are my top three:
- Hand Position & Body Alignment: Align your elbow, shoulder, and hand with the wood. This helps maintain a straight cutting line. Keep your eye line directly over the saw line for better accuracy.
- Start Slow: Begin with small, controlled strokes. This helps guide the saw accurately and builds confidence.
- Use a Vise: Secure your workpiece firmly to avoid movement. It’s easier to cut straight when your wood isn’t dancing around!
Safety Precautions
When it comes to using a hand saw, being mindful of safety precautions is essential for a smooth and injury-free experience. Here are some key tips for saw safety:
- Inspect Your Saw: Check the handle and blade for damage. A cracked handle or missing teeth can spell trouble.
- Wear Personal Protection: Always use eye protection and consider gloves. They’re not just for superheroes!
- Proper Handling: Carry your saw by the handle, blade down, and cut away from yourself.
- Secure Your Material: Use a clamp or vise to keep your wood steady.
- Clear Workspace: Keep your area tidy to avoid tripping hazards.
Final Touches for a Clean Finish
To achieve a polished look on your project, you’ll want to focus on those final touches that make all the difference. Here are some steps I recommend for smoothing edges and refining surfaces:
- Plane the Edges: Use a block or hand plane to eliminate saw marks and chamfer edges slightly.
- Sand the Surfaces: Gradually work your way up to finer grit sandpaper to smooth out any rough spots.
- Check Squareness: Use a try square to verify corners are square; file any imperfections.
- Remove Splinters: A sharp chisel or scraper can help you achieve that crisp edge.
- Clean Up: Dust off any debris to get a clear view of your hard work.
These steps will elevate your project from “meh” to “wow”!
Frequently Asked Questions
What Type of Wood Is Best for Beginners to Practice Cutting?
Imagine slicing through butter; that’s how softwoods like pine feel for beginners. I recommend starting with practice boards of softwoods over hardwoods, as they’re forgiving and make learning to cut a smoother, more enjoyable journey.
How Do I Choose the Right Saw for My Project?
When choosing the right saw for my project, I consider saw types based on material and cut quality. I also pay attention to blade materials, ensuring durability and effectiveness for my specific cutting needs.
Can I Use a Hand Saw for Metal Cutting?
Absolutely, I’ve found hand saws, specifically hacksaws, great for metal cutting. They handle thinner metals well, and with proper techniques, I can achieve clean cuts. Just remember to use the right blade and maintain it regularly.
What Is the Ideal Saw Blade Length for Different Cuts?
When considering ideal saw blade dimensions, I find shorter blades perfect for precision cuts, while longer ones excel in rough work. Cut depth considerations also play a role in choosing the right blade length for efficiency.
How Can I Improve My Sawing Speed Without Sacrificing Accuracy?
To improve my sawing speed without sacrificing accuracy, I focus on precise sawing techniques, maintain my blade regularly, and practice steady strokes, blending rhythm and control to achieve fast, clean cuts every time.