To maintain your hand tools, I’ve got a simple routine for you: First, clean and inspect them regularly to spot wear. Second, lubricate moving parts with the right oils or greases. Don’t forget to sharpen cutting tools—using a whetstone is a great way to do it! Proper storage is key, too; keep them organized in toolboxes or racks. By following these steps, you’ll guarantee they’re ready when you need them. Stick around for more tips!
Key Takeaways
- Regularly clean tools with warm water and mild soap to remove dirt, grease, and rust for optimal performance.
- Inspect tools frequently for wear, checking for splinters, cracks, and chips to ensure safety and effectiveness.
- Lubricate moving parts with appropriate oils and greases to maintain smooth operation and prevent wear.
- Sharpen cutting tools using whetstones and a leather strop to enhance cutting efficiency and prolong sharpness.
- Store tools properly in toolboxes or on racks, keeping them organized and clean to preserve their condition.
Cleaning and Inspection
When it comes to maintaining hand tools, I can’t stress enough how important it is to start with a thorough cleaning and inspection. Here’s how I tackle it:
- Gather Supplies: Use warm water mixed with a teaspoon of mild dish soap. Get a wire brush, soft-bristle brush, and microfiber cloth.
- Initial Inspection: Check for dirt, grease, or rust. Remove loose debris first.
- Cleaning Techniques: Use wire brushing for stubborn grime. For rust, impact tools might be necessary.
- Final Inspection: Look for splinters or cracks on handles and check metal parts for chips. Regular inspections for wear keep tools effective and safe, as emphasized in customer feedback.
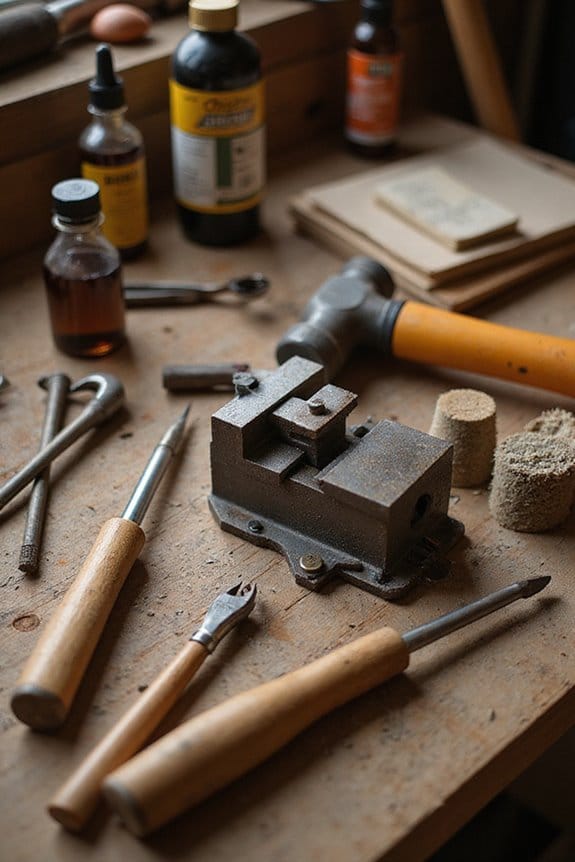
Lubrication of Moving Parts
After giving your hand tools a thorough cleaning and inspection, it’s time to focus on the lubrication of moving parts. Here are some tips to keep your tools running smoothly:
- Choose the Right Lubricant Types: Use oils for hinges and greases for high-pressure areas. Spray lubricants work wonders on gears and chains.
- Master Application Techniques: For precise application, I recommend oilers, while grease guns are great for thicker lubricants. A quick spray can also help with hard-to-reach spots.
- Don’t Overdo It: Just enough lubricant to form a thin film is ideal. Too much can lead to leaks and heat buildup.
Remember to keep an eye out for wear while you’re at it. Happy lubricating!
Sharpening and Maintenance of Cutting Tools
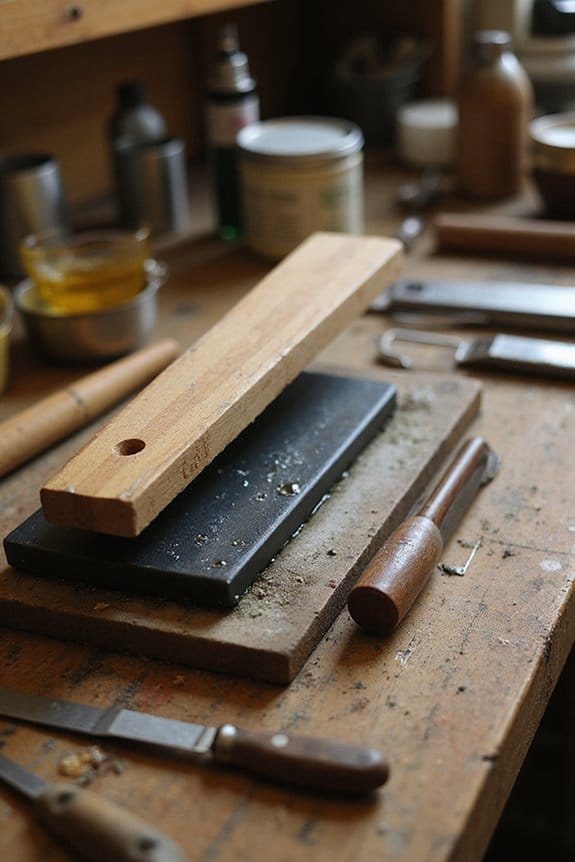
Sharpening and maintaining cutting tools is essential for keeping them in top shape, ensuring they perform efficiently and safely. Here’s how I tackle this:
- Select Your Tools: I use whetstones with coarse, medium, and fine grits. A honing guide helps me keep consistent bevel angles.
- Grinding Stage: I start with coarse grit to reshape dull edges, applying light pressure and cooling the tool in water frequently.
- Honing Stage: Shift to finer grits, focusing on creating those microscopic “teeth” at the edge while sticking to the right bevel angle.
- Stropping: I finish with a leather strop to remove any burrs and refine the edge. Regular stropping keeps my tools sharp longer—plus, it’s oddly satisfying!
These sharpening techniques make all the difference. Give them a try!
Proper Storage Practices
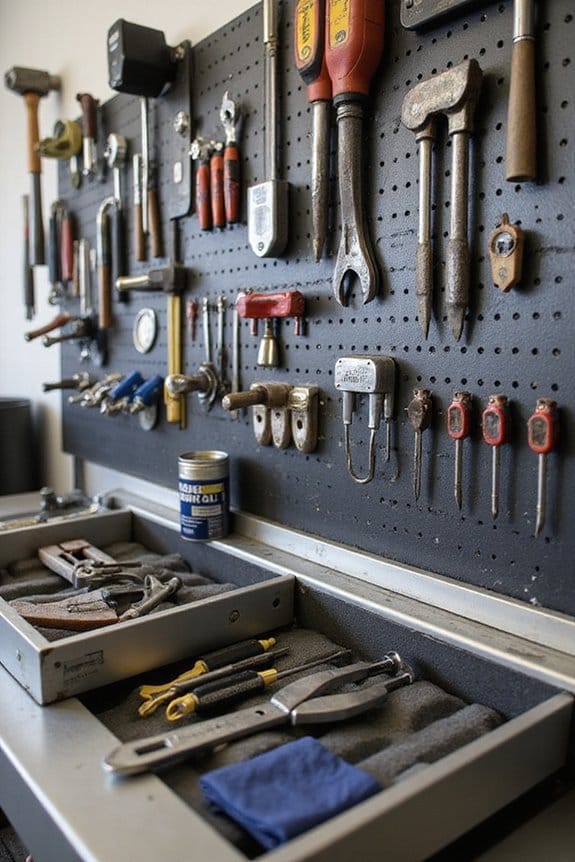
Keeping your cutting tools sharp is only part of the equation; how you store them plays a big role in their longevity and performance. Here are some proper storage practices I recommend for effective tool organization:
- Toolboxes or Chests: Choose a toolbox for portability or a chest for a larger collection. Just watch that weight!
- Wall-Mounted Racks: Use pegboards or magnetic strips for easy access. It’s like having a personal tool gallery!
- Tool Bags: They’re great for lightweight storage, but keep them organized to avoid chaos.
- Distinct Zones: Group similar tools together. It saves time and keeps things tidy.
- Regular Cleaning: Dust and clean your storage area to keep tools in top shape. Keeping your tools in a proper storage environment can significantly enhance their performance and lifespan.

Implementing these storage solutions can really extend your tools’ lifespan!
Handle and Structural Care
While it might be easy to overlook the care of tool handles and structural integrity, taking a few simple steps can make a huge difference in your tools’ lifespan and safety. Here’s what I recommend:
- Inspect regularly: After each use, check for cracks, splinters, or corrosion.
- Sand and oil: Smooth wooden handles with medium-grit sandpaper, then apply linseed oil for handle longevity.
- Replace damaged parts: Don’t hesitate to swap out cracked handles or rusty components.
- Keep joints clean: Verify the connection between handle and metal parts is snug and free of debris.
- Wrap for grip: When necessary, use grip tape to enhance safety.
Additionally, maintaining your tools can improve their performance and ensure they meet safety standards for safe usage. Taking care of your tools not only boosts their performance but also keeps you safe while using them.
Safety and Usage Considerations
Taking care of your hand tools is only part of the equation; how you use and handle them is just as important. Here are some key safety and usage considerations to keep in mind:
- PPE Compliance: Always wear appropriate gloves and eye protection. Remember, 70% of hand injuries happen without gloves!
- Ergonomic Practices: Maintain a firm grip and use tools for their intended purpose. This minimizes slips and accidents.
- Breaks are Essential: Don’t push through fatigue. Taking breaks improves focus and control.
- Tool Condition: Keep tools sharp and well-maintained. Dull tools can lead to mishaps. Regular testing of GFCI outlets ensures electrical safety, preventing potential accidents when using powered tools.
Regular Maintenance Schedule
A solid maintenance schedule is vital for keeping your hand tools in top shape. Here’s how I approach it:
- Inspection Frequency: I check my tools after each use for cracks or defects. For portable power tools, I schedule semi-annual inspections as a baseline.
- Inspection Guidelines: I keep a record of inspections and follow the manufacturer’s recommendations. This helps me stay organized and guarantees I’m not missing anything critical.
- Routine Cleaning: I always clean my tools right after use to prevent rust. A little dirt can cause big problems!
- Lubrication: I make certain to lubricate moving parts regularly to keep everything running smoothly. Regular cleaning and lubrication of tools can significantly extend their lifespan and ensure optimal performance.
Incorporating these steps into my schedule has definitely improved my tools’ safety and reliability!
Identifying Signs of Wear
Identifying signs of wear in your hand tools is essential for ensuring their longevity and performance. Here are some key wear indicators I always check:
- Visual Cracks and Chips: Look for visible cracks or chips on cutting edges; they signal deterioration.
- Discoloration: Heat discoloration means your tool’s been stressed; it’s time for a closer look.
- Cutting Performance: If you notice increased cutting forces or unusual vibrations, your tool may be losing its edge.
- Surface Finish Quality: Rough surfaces or chatter marks indicate dullness, which affects your work.
- Tactile Inspection: Feeling for smoothness helps detect minor wear.
Choosing the Right Tools for the Job
After spotting signs of wear in your hand tools, the next step is picking the right ones for the job at hand. Here’s how I approach it:
- Assess Project Requirements: Identify tasks and materials to guarantee tool compatibility. A hammer won’t help much with a delicate task!
- Consider Ergonomic Features: For power tasks, choose handles 1¼ to 2 inches thick. For precision work, go smaller—¼ to ½ inch is best.
- Evaluate Environment: Think about where you’ll work. Cramped spaces need shorter tools to keep your wrist happy.
- Prioritize Safety and Efficiency: Tools should fit your grip and reduce strain. A good grip means less chance of injury and more fun!

Choosing wisely enhances both your safety and effectiveness.
Frequently Asked Questions
How Often Should I Replace My Hand Tools?
I’d recommend replacing hand tools based on their lifespan and any replacement signs you notice. Regularly inspect for damage; if they’re showing wear, it’s time to upgrade for safety and efficiency.
Can I Use Household Cleaners on My Tools?
You know, back in the day, I learned that using cleaning agents on my tools can be risky. For tool preservation, I stick to mild soap and water instead of harsh chemicals to keep them safe and sound.
What Should I Do if a Tool Is Broken?
If my tool’s broken, I first assess the damage and explore repair options. I’ll gather necessary supplies and follow guides for tool restoration. Testing it afterward guarantees it’s safe and functional before regular use.
Are There Specific Tools for Different Materials?
When it comes to crafting, each material has its favorites. I always consider tool compatibility and material considerations to guarantee the right fit, whether I’m working with wood, metal, or something more delicate. It makes all the difference!
How Can I Tell if a Tool Is High Quality?
When I evaluate a tool’s quality, I look for brand reputation and material durability. Established brands often use high-quality materials, ensuring the tool’s reliability and longevity, which greatly impacts its performance in demanding situations.