As an Amazon Associate, we earn from qualifying purchases. Some links may be affiliate links at no extra cost to you. Although our opinions are based on curated research, we haven't used these products. Articles generated with AI.
How To Read Home Inspection Report?
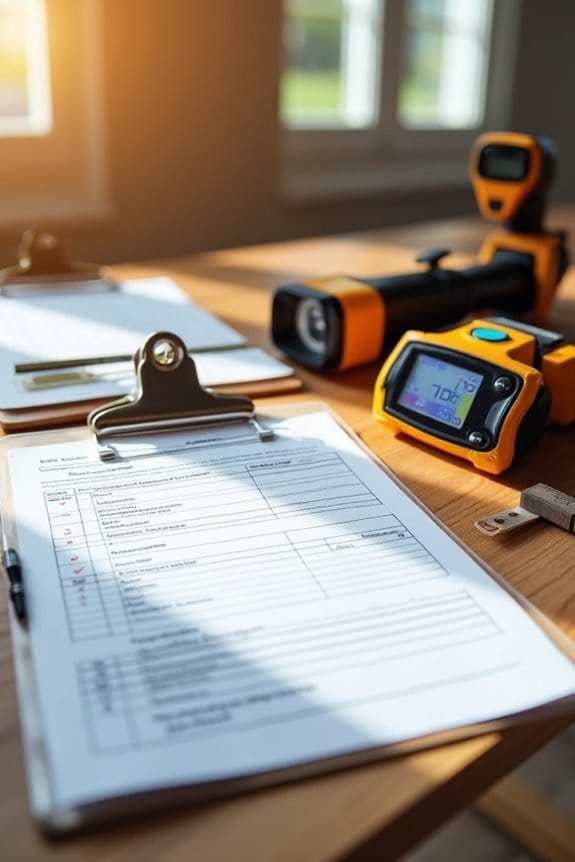
Understanding a home inspection report doesn’t have to be a headache. To break it down: 1) Start with basic property details; 2) Focus on exterior issues like the roof and foundation; 3) Check the interior for cracks and safety features; 4) Assess the plumbing for leaks and pressure; and 5) Evaluate electrical systems for safety. Pay special attention to defects noted. It’s like a treasure map for your future home! You might discover more insights as we go on.
Key Takeaways
- Start by reviewing the basic property details, including the address and inspection date, to ensure accuracy.
- Familiarize yourself with the inspection terminology used in the report, such as “NI” for “Not Inspected” and “D” for “Defect.”
- Focus on sections related to major systems—plumbing, electrical, and structural—to identify any critical issues.
- Pay special attention to highlighted defects that require urgent attention, as they may impact your safety or finances.
- Use supporting photos to better understand the observations and potential concerns noted by the inspector.
Understanding the Structure of the Report
You may be interested


When diving into a home inspection report, think of it as your personal guide to understanding the condition of a property. The report format typically starts with basic property details, like the address and inspection date. Then, it breaks down into sections for major systems, such as plumbing and electrical.
- Observations: Each section contains notes on conditions, with photos to back them up.
- Terminology: You’ll see inspection terminology like NI for “Not Inspected” or D for “Defect.”
- Flags: Defects are clearly highlighted, so you know what needs urgent attention.
Key Areas Covered in the Exterior Inspection
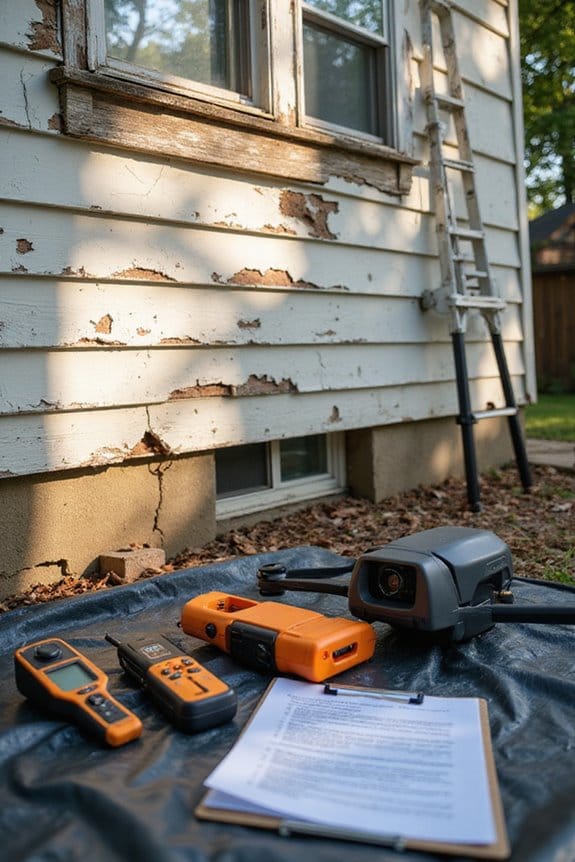
Having a solid grasp of the report’s structure sets you up for success as you tackle the next big piece: the exterior inspection. Here are the key areas I focus on:
- Roof Inspection: I check shingles for wear, examine flashing, and guarantee gutters are clear. A leaky roof is no joke!
- Foundation Evaluation: I look for cracks or settling. Erosion around the base? That’s a red flag.
- Siding and Trim: I find cracks or wood rot to prevent moisture penetration.
- Windows and Doors: I assess seals and check for moisture issues.
- Outdoor Structures: I evaluate decks and driveways for safety.
Interior Inspection Focus Areas
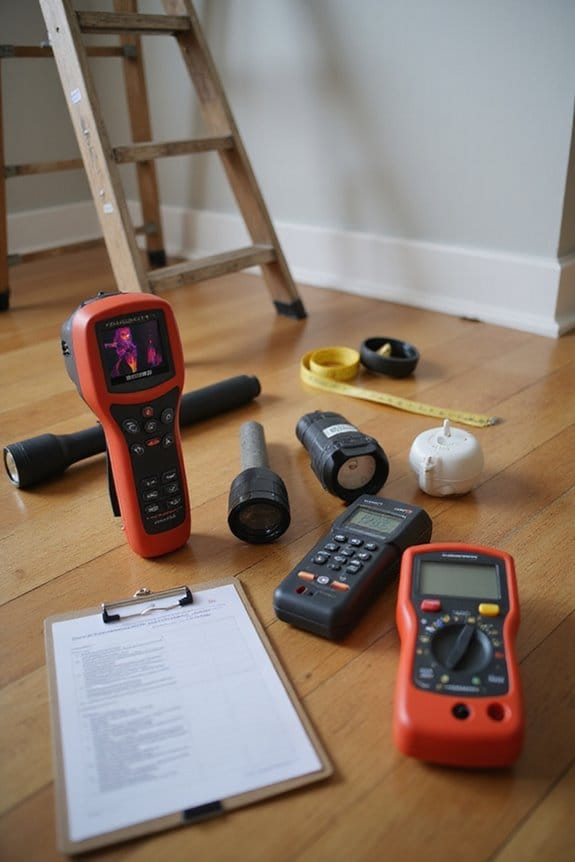
As you plunge into the interior inspection, you’ll quickly realize it’s just as critical as the exterior. Here are a few focus areas to pay attention to:
- Interior Surfaces: Check walls and ceilings for cracks or stains. These can hint at underlying issues.
- Windows and Doors: Confirm they operate properly. Look for damage or poor seals that could lead to drafts—nobody likes a chilly living room!
- Safety Features: Verify smoke and carbon monoxide detectors are functional. Also, check handrails and outlets for safety compliance. Advanced sensing technology is vital to ensure these detectors minimize false alarms.
- Structural Components: Keep an eye on load-bearing walls for stability.
Taking your time here could save you from future headaches! Remember, a thorough inspection today means a safer home tomorrow.
Plumbing System Inspection Points
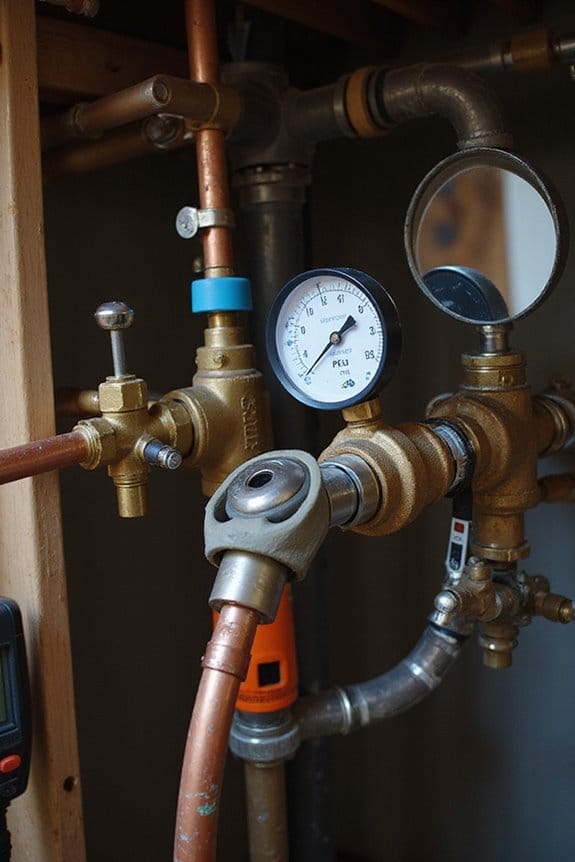
The plumbing system is like the veins of your home, carrying essential resources and waste away. To spot potential plumbing issues, here are key inspection points you shouldn’t overlook:
- Visible Leaks: Look for any leaks in exposed pipes. Even a small drip can lead to bigger problems.
- Water Pressure: Measure it—aim for 40-80 psi. Low pressure? You might have a hidden issue.
- Bathroom Fixtures: Test sinks and toilets for proper flow and drainage. Check for leaks under sinks too.
- Drainage Assessment: Slow drains or foul odors? They can signal bigger plumbing issues.
- Water Heater: Inspect for leaks and rust. Remember, regular leak detection can save you headaches later!
Stay proactive, and your plumbing will thank you!
Electrical System Evaluation Criteria
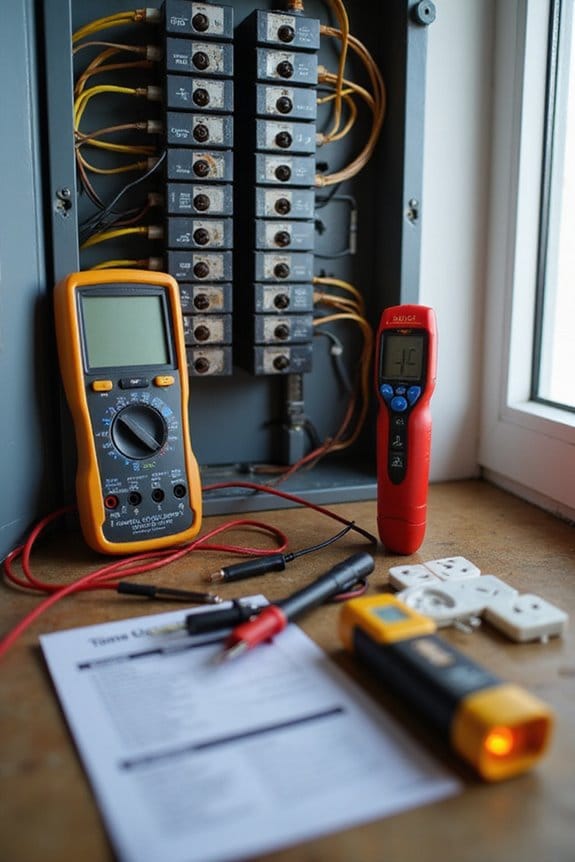
When it comes to your home’s safety, the electrical system is just as important as the plumbing. Here’s what I look for during an evaluation:
- Electrical Panel: Is it securely mounted? Check that all circuit breakers work and are damage-free. Confirm it’s grounded properly to avoid surprises later.
- Wiring Condition: Look for frayed wires or anything that could cause hazards. It’s essential that the wiring complies with safety standards and is free from damage.
- Outlets and Switches: Verify they’re secure and functioning without flickering. GFCI outlets should be in wet areas to keep you safe. Additionally, ensure that the system has non-contact voltage detection to enhance safety during evaluations.
Keeping an eye on these factors can help prevent electrical headaches down the line!
Frequently Asked Questions
What Should I Do if My Report Lists Multiple Repairs?
Isn’t it charming when a report lists multiple repairs? I’d recommend categorizing them by urgency and repair costs. Prioritize essential fixes, negotiate wisely, and don’t hesitate to consult professionals for guidance.
How Can I Prioritize the Issues Found in the Report?
When I prioritize repairs, I focus on understanding severity first. I tackle safety risks and major systems first, then address preventative issues, leaving cosmetic repairs for later. This approach keeps my home safe and budget-friendly.
Are All Defects in the Report Serious Concerns?
Not all defects in the report are serious concerns. I often find major defects needing immediate attention, while minor issues might just require future maintenance. It’s vital to recognize the difference for effective management.
Can I Negotiate Repairs With the Seller Based on the Report?
Yes, I can negotiate repairs with the seller based on the report. I’ll focus on significant issues during my seller communication, ensuring clear repair negotiations to reach a fair agreement that benefits both parties.
How Often Should I Schedule Home Inspections?
I think scheduling annual inspections for older homes is essential. It helps maintain safety and integrity. For newer homes, inspection frequency can be every 3-5 years if no issues arise. Regular checks really save money in the long run.